Every one wants to be noticed, right? Well, in the blogosphere anyway.
A great way to get your name out there is by creating a button. These are little images that others can copy from your blog to put in the side column of their blog, and that others will use as a tool to link directly back to you.
You don't have to be an expert at HTML to figure it out. Even if you're still nervous don't worry because I'm going to give you all of the information that you need.
First of all, you need to find an image that you like and that you want to be your button. Most people just use a smaller version of their blog banner. Go to whatever editing software you use, and open the photo/image that you want. You don't need any kind of fancy software here. In fact, whatever photo editing software that came with your computer will probably work.
Once you have your photo open, you will need to crop it into more of a square shape if it isn't already. After cropping the image down, you will need to decrease the size of the image to around 200 pixels. (if it's already less than 200 that's ok) In the tool bar section you will find a tab for image, and somewhere within this tab is the option to change the size of the image. After doing all of this, save your image in a file where you can easily find it later. (For all of my blog stuff I've created a file called Blog Info, and I save all of my images there so that I can find it right away)
Onto step 2....
This is the super easy part. No need to upload your image to a public sharing photo account (which I have found out for your through my own trial and error).
Open your blog and click on customize in the upper right hand corner, and then add gadget. (BTW this is for blogspot users) Click on add photo, and upload your new image and save. Now go to view blog, and right click on your new little button image. In the menu it will say copy image location, click this.
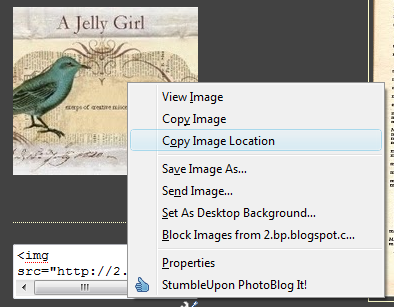 Amost done.....
Go back to customize, and add gadget HTML. In the text box, hit ctrl 'v' and the location of your button will show up.
This is what it should look like:
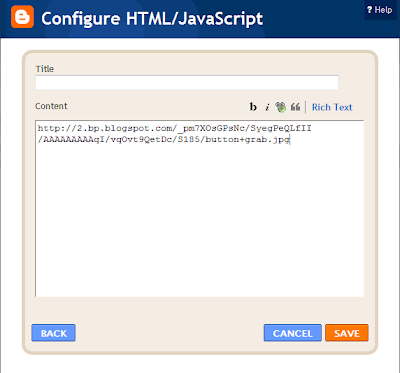
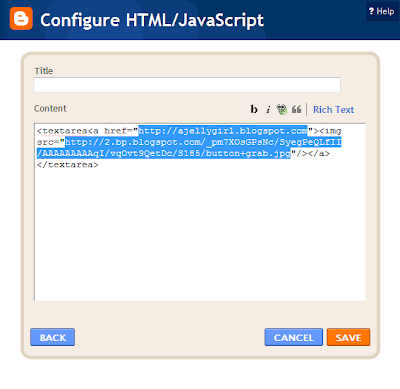
Now, we will have to add your HTML code for your button. This is what we're going to add:

This is what you should have when you're done (substitute your blog info where my highlighted information is):
 Now, click save and then view blog. You should see something like this:
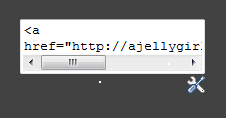
Now, go back to customize and drag the HTML box you just made below the photo box of your button image. You may want to add a caption in your photo gadget to explain to other bloggers how they can add the button.
This is what you should have:
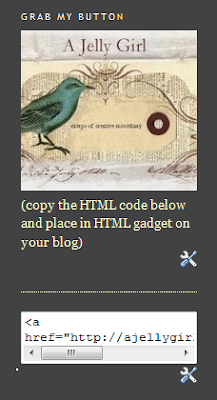
Congratulations! You now have made your own button. Please leave me a comment and show me how I can see your button if you used this tutorial. I'd be so flattered if you added my button to your blog. Also, if you have any problems or questions about this tutorial I'll be happy to try and help.


Jelly Girl,
ReplyDeleteThank you for the tutorial! I put your button on my blog, it looks right at home there. Just made my button tonight. I had to change the code a little, it looks like there is and extra space after the image location URL, between the quote and the slash
...h.jpg" /...
My button gadget is found on the left hand column at:
http://souvenirsfromwonderland.blogspot.com/
You are wonderful for sharing!
Carrie
I am in the tedious process of collecting tutorials, sources, etc on my blog pages. This was most definitely included. Take a peek: http://cardinalhousestudio.blogspot.com/p/tips-tutorials.html
ReplyDeleteAgain, I've just started this project & am slowly working my way through links I've emailed, yes, to myself so I could go back to them [I pay no attention to bookmarks/feeds...].
Thanks!
Kat.//cardinalhouse