Editor's note: If you've been to my blog before, let me tell you that I fixed my button. I thought I would save everyone else in the blogosphere the same trouble I've had by giving a tutorial on how to create your own button.Every one wants to be noticed, right? Well, in the blogosphere anyway.
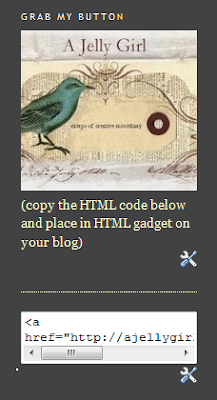
A great way to get your name out there is by creating a button. These are little images that others can copy from your blog to put in the side column of their blog, and that others will use as a tool to link directly back to you.
You don't have to be an expert at HTML to figure it out. Even if you're still nervous don't worry because I'm going to give you all of the information that you need.
First of all, you need to find an image that you like and that you want to be your button. Most people just use a smaller version of their blog banner. Go to whatever editing software you use, and open the photo/image that you want. You don't need any kind of fancy software here. In fact, whatever photo editing software that came with your computer will probably work.
Once you have your photo open, you will need to crop it into more of a square shape if it isn't already. After cropping the image down, you will need to decrease the size of the image to around 200 pixels. (if it's already less than 200 that's ok) In the tool bar section you will find a tab for
image, and somewhere within this tab is the option to change the size of the image. After doing all of this, save your image in a file where you can easily find it later. (For all of my blog stuff I've created a file called
Blog Info, and I save all of my images there so that I can find it right away)
Onto step 2....
This is the super easy part. No need to upload your image to a public sharing photo account (which I have found out for your through my own trial and error).
Open your blog and click on customize in the upper right hand corner, and then add gadget. (BTW this is for
blogspot users) Click on
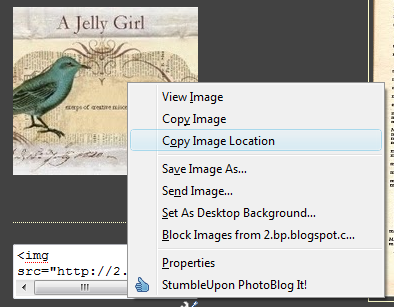
add photo, and upload your new image and save. Now go to view blog, and right click on your new little button image. In the menu it will say copy image location, click this.
Amost done.....
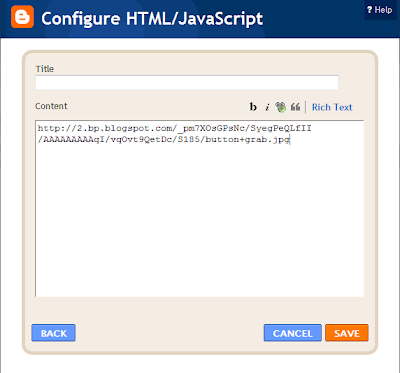
Go back to customize, and add gadget HTML. In the text box, hit ctrl 'v' and the location of your button will show up.
This is what it should look like:
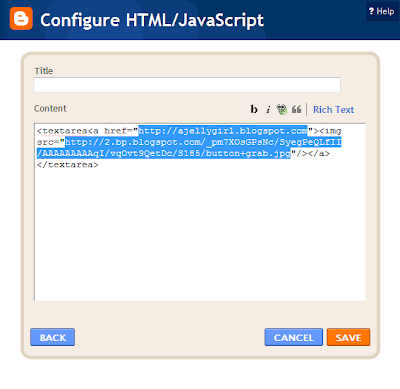
Now, we will have to add your HTML code for your button. This is what we're going to add:

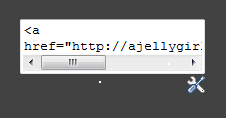
This is what you should have when you're done (substitute your blog info where my highlighted information is):
Now, click save and then view blog. You should see something like this:
Now, go back to customize and drag the HTML box you just made below the photo box of your button image. You may want to add a caption in your photo gadget to explain to other bloggers how they can add the button.
This is what you should have:
Congratulations! You now have made your own button. Please leave me a comment and show me how I can see your button if you used this tutorial. I'd be so flattered if you added my button to your blog. Also, if you have any problems or questions about this tutorial I'll be happy to try and help.


 I got the pattern here, although I had to make some minor modifications for my size large cranium. Big brains like mine need room to breathe, yo. I did make it adjustable with the brown ribbon, so that little brained people can wear it, too.

 Now I don't have children, but the crafts at Skip to my Lou will keep anyone of any age busy and smiling for hours. In fact, I was printing off all sorts of stuff at work last night for other co-workers who were busy looking over my shoulder at this blog instead of working. It must be really hard to find good workers these days. jeez.
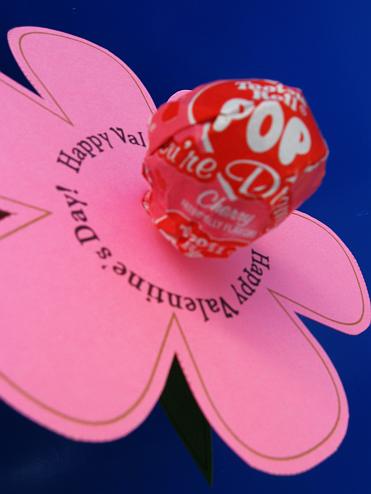 OMG! She even has this great tutorial for making bath bombs.
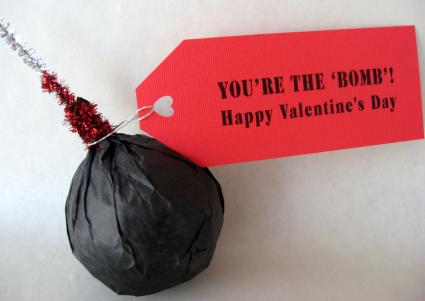 Ok, so you know that besides everything french I love to recycle things into useful objects, art, whatever. Well, Resweater is the jackpot o' upcycled sweater projects. In fact, I'm so inspired by all of her stuff that I'm going down to the craft lab right this moment and cooking up some pure


 Here are the afters:
 The refrigerator still needs one more coat, but you have to wait 5 days between coats. On the dishwasher, the panel is a hammered gold but it doesn't come out well in the photo. For the refrigerator I used 4 cans of black appliance paint, and 1/2 a can of plastic paint for the handles, etc. I used the same plastic paint on the dishwasher, and maybe 1/2 a can of appliance paint.
 The next step is wall paint and laying floor tile. I'll be sure to post more photos!


 Amost done.....

 Now, click save and then view blog. You should see something like this:

 This project is super easy. I started by spray painting the box with black satin paint. To get the stripes, I used scotch tape to make each stripe. I like using scotch tape for smaller projects because it's a nice way to know that your stripes will be even. After taping everything off I painted the stripes first with white acrylic paint, then with a layer of gold.
 Using an old English-French dictionary, I scanned in the definition of match, and then printed it out so that I could affix it to the box. To give the box a distressed look, I gently sanded the whole thing with a fine grit sanding sponge. And for the final touch, I added a few rub-ons to the front.


 Don't worry, my blog won't change a bit. I mean, I am still Jelly and always will be. This blog is about my life and creative process - BLEU is the product of those things. I'm still working on changing everything over at etsy, and this may be a while yet. My other etsy store Jelly B. Green, will continue to be open but will sell more vintage goods and supplies. Stay tuned for more updates...


 I love making these mittens and actually have another pair that I'm going to post today (see 'creative genius' above). They're entirely made from felted upcycled wool sweaters and they are oh-so-soft and thick. I've also been making more gloves, but they take a little longer. Plus, I forgot to take photos of all of the gloves that I made for Christmas gifts. Sorry.


